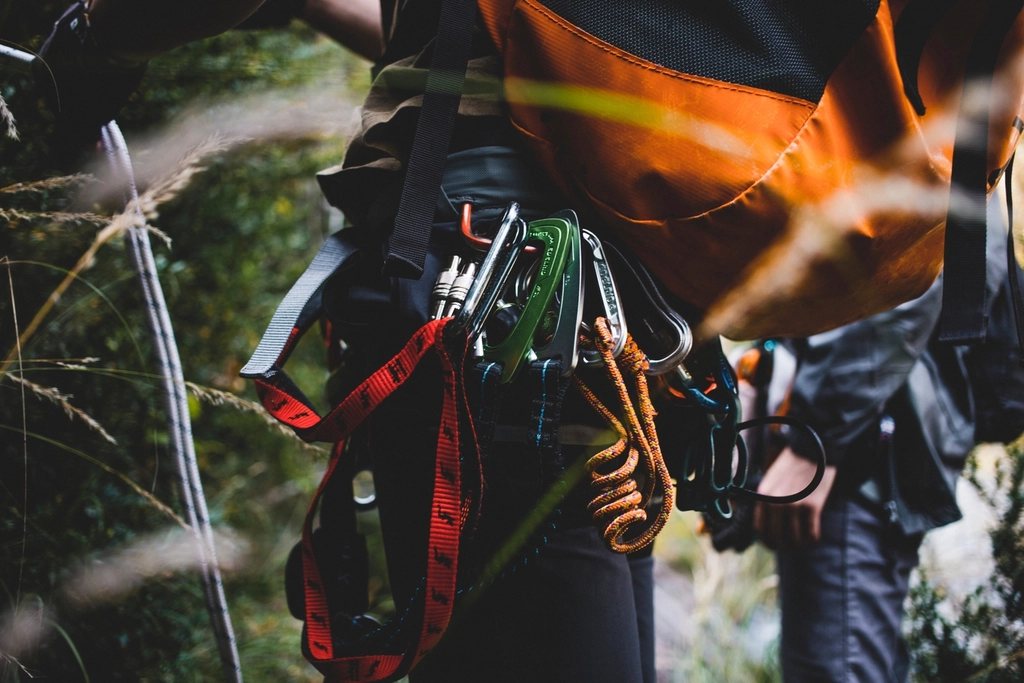
Every rope system ends at an anchor, and for most of a climbing day the anchor is the only thing between the team and the ground. Yet anchors are built in a hurry, on awkward stances, with whatever gear is left on the harness, and often by the least experienced member of the party. The same handful of principles covers nearly every situation, from a two-bolt sport belay to a gear anchor on a windy ledge.
The checklist: SERENE and ERNEST
Two acronyms circulate in climbing courses and they say the same thing in a different order. SERENE stands for Solid, Equalised, Redundant, Efficient, No Extension. ERNEST stands for Equalised, Redundant, No Extension, Solid, Timely. The words matter less than the questions behind them.
Solid: is each individual component, the bolt, the cam, the nut, the sling, strong enough on its own to hold a fall? Redundant: if any single piece fails, does the system still hold? Equalised: is the load shared between the pieces rather than hanging from one? No extension: if a piece fails, does the master point stay where it is, or does it drop and shock-load the rest? Efficient or timely: was it built with a sensible amount of gear in a sensible amount of time? An anchor that takes fifteen minutes may be strong, but it has cost daylight, and daylight is a safety margin too.
Bolts versus gear
On a well-equipped sport crag the anchor is two bolts, sometimes joined by a chain. Two modern expansion or glue-in bolts in good rock are each far stronger than any load a climber can produce, and a simple connection between them is enough. The main risks are old or corroded hardware, especially near the sea, and rock that has cracked around the bolt. Look at both bolts, tap the hangers, and if one looks doubtful, back it up with gear or choose another route.
Gear anchors are a different matter. Cams and nuts depend on the rock they sit in and on your placement skill, so redundancy usually means three pieces rather than two, and the pieces should ideally be in different cracks or at least in different sections of the same crack. Each should be placed for the direction the load will come from, usually downward, with at least one piece able to take an upward or outward pull if the belayer might be lifted.
Connecting the pieces: master point and angles
However the pieces are placed, they need to be brought together into a single master point that everything else clips to: the belay device, the climber’s tie-in, the second on their way up. The traditional method uses a cordelette, a long loop of cord clipped to each piece, gathered and tied with an overhand or figure-eight knot to create the master point. It is simple, easy to inspect and does not extend if a piece fails. Its weakness is that it only equalises for one direction of pull; if the load comes from another angle, one strand takes most of it.
The angle between the strands matters more than most people realise. With two pieces and the strands meeting at 60 degrees, each piece sees a little more than half the load. At 90 degrees each sees about 70 percent. At 120 degrees each piece holds the full load, and beyond that the anchor is actually multiplying the force. Keep the master point low enough that the strands meet at a narrow angle, and use longer slings or cord rather than accepting a wide V.
The equalisation myth, the sliding X and the quad
Here is the uncomfortable truth: true equalisation almost never happens. Tests with load cells on real anchors show that even carefully built systems usually put most of the force on one piece, because cord stretches unevenly, knots settle, and the load rarely arrives from exactly the planned direction. The practical conclusion is not to chase perfect equalisation but to make sure that every piece could hold the whole load alone, and that no piece is loaded unexpectedly by extension.
Two self-adjusting systems try to improve on the cordelette. The sliding X is a single sling clipped to two pieces with a half twist in one strand so the master carabiner cannot slip off if one piece fails. It adjusts to changing load direction, which is useful for a traversing belay or a top-rope anchor, but if one piece fails the sling extends fully before the other piece takes the load. Adding an overhand limiter knot on each side of the master point cuts that extension to a few centimetres and makes the system acceptable.
The quad takes the same idea further. A cordelette is doubled into a four-strand loop, and two limiter knots are tied leaving a short section of four strands in the middle. Each end clips to a bolt, and the master carabiners are clipped through two or three of the four middle strands, never all four. If one bolt fails, the strands still hold on the other bolt with only a small drop. The quad is fast to rig, self-adjusting, redundant and has a limited extension. On two-bolt anchors it has become our default, and on gear it can be combined with a third piece clipped in with a sling.
Top-rope anchors and the edge problem
Top-rope anchors take more cycles of loading than any other kind, and they usually run over an edge. Build them with the same principles, then think about the edge. The master point should hang over the lip so the rope runs freely without sawing on rock; that often means extending the anchor with static rope or long slings, which must be protected where they touch the edge. Use two locking carabiners at the master point, gates opposite and opposed, and check them each time the rope is lowered.
Checking, every time
The last step is the one most often skipped. Before you commit your weight, look at the whole system as if someone else had built it. Are all the gates closed and locked? Is every piece loaded in the direction it was placed for? Does each strand actually arrive at the master point? Would the anchor survive one piece failing? Is anything running over a sharp edge or against a rope? A few seconds of this habit finds most errors, and it works just as well on a partner’s anchor as on your own. We say the check out loud, which feels slightly silly and has caught more mistakes than any piece of equipment we own.
Read next: Building Climbing Anchors: Principles, Materials and Configurations