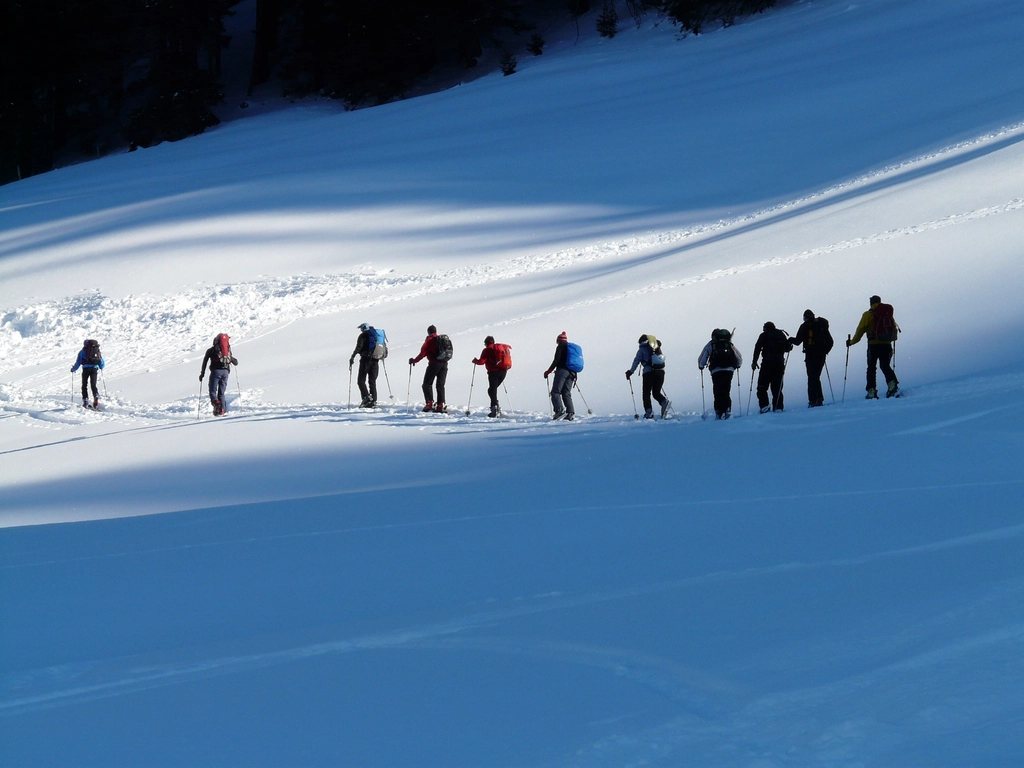
The first time we put skins on and walked uphill, the surprise was not the effort. It was how much of the day was spent on small things: a skin that would not stick, a binding that would not switch, a jacket that was wrong in either direction. Ski touring is a craft of small efficiencies, and the sooner they become automatic, the sooner the uphill turns from a chore into the best part of the day. This is the basic set, for someone with a new touring setup and a resort uphill zone to practise in.
Skins: the part that goes wrong first
Climbing skins are strips of mohair, nylon or a mix of the two, with directional fibres that slide forward and grip backward, held to the ski base by a reusable glue. Mohair glides better; nylon grips better and lasts longer. Mixed skins are the sensible starting point.
Almost every skin problem comes down to the glue, and the glue has three enemies: snow, heat and dirt. At the transition we put the skins on a dry base, or at least brush the snow off first, and we press them down from tip to tail with a gloved hand. When they come off, they are folded glue to glue, or onto their mesh sheet, before the wind gets to them, and they go inside the jacket rather than into a wet pack so that they are warm and dry for the next lap. At home they dry at room temperature, away from radiators, and spend the summer on the sheet in a cool place. Tacky, stringy glue can be revived with a hot iron and a sheet of paper, but that is a repair, not a routine.
Snow sticking to the underside of the skin, called glopping, happens in warm or freshly fallen snow and can double the weight of each step. A rub-on skin wax before the tour, and again at a transition, is the fix. We carry a small block of it every day from March onward.
Heel risers and skin track angle
Touring bindings have heel risers, small lifts that raise the heel by a couple of centimetres so that the ankle is not overstretched on steeper track. The reflex is to use the highest riser all the time, and it is usually wrong. A flat heel on flat ground, a low riser on moderate track and the high riser only for short, steep sections keeps the calves fresh and the stride long.
The angle of the skin track matters more than the riser. The most efficient track for a group climbs at about 10 to 15 degrees. It feels too gentle at first, but it lets the skin grip, keeps the heart rate steady and leaves energy for the descent. A track set at 20 degrees or more looks like a shortcut and turns into a series of slips and stalls, particularly for the people at the back. If we are breaking trail, we set the track for the weakest skier in the group, not the strongest, and we aim it around obstacles and away from slopes above 30 degrees where we can.
The kick turn
Zig-zagging up a slope means turning at the end of every leg, and the uphill kick turn is the movement that takes new tourers the longest to trust. The sequence is simple when broken down. Stop with both skis across the slope, weight on the downhill ski. Stamp a small flat platform. Plant both poles on the uphill side, slightly behind. Lift the uphill ski, swing the tip up and around so that it points back the other way, and set it down parallel to the slope. Transfer weight onto it. Then lift the downhill ski, keep the tip low so the tail clears the snow, and swing it round to match. It works because the weight moves cleanly from one ski to the other, and fails when both skis are loaded.
The best place to learn is on a gentle slope with soft snow and no consequences, repeated twenty times until the poles and the platform are automatic. On firm snow the platform matters more; on steep track a slightly wider stance before the turn is worth the extra second.
Transitions
A transition is the switch from climbing to skiing or back, and it is where a group of six can lose half an hour. We do them in a fixed order, the same every time, so that nothing gets forgotten: heels locked, skins off and away, boots into ski mode, layers on, pack closed, poles adjusted, transceiver check. At the top of a climb the first job is a jacket, because the body cools within a minute once it stops moving; the skins come second. Done well, a transition takes three or four minutes. Done badly, in the wind with gloves off and a skin flapping across the snow, it takes fifteen and everyone is cold.
Pacing, layering and staying dry
The biggest change from resort skiing is that the uphill produces heat and the downhill takes it away, and sweat is the enemy of both. We start cold on purpose, in a thin base layer and a light wind shell, and expect to be uncomfortable for the first ten minutes. If we are sweating, we slow down or take a layer off, in that order. A pace at which we can talk in full sentences is the right pace for the whole climb; a pace at which we cannot is one we will pay for at the top. On a long day we eat a little every hour and drink before we are thirsty.
- A thin, wicking base layer, worn alone on the climb whenever the wind allows.
- A light shell or softshell for the wind, opened at the pit zips before anything else comes off.
- A warm insulating jacket that lives in the pack and goes on at every stop.
- Thin gloves for climbing and a warm pair for the descent.
First tours in a resort uphill zone
Many ski areas now mark an uphill route or set aside hours when touring inside the resort is allowed, often early morning or after the lifts close. These zones are the best classroom there is: groomed snow, no avalanche exposure, a lift to bail out on and a warm place at the top. A first tour of 300 to 500 metres (1,000 to 1,600 feet) of climbing, done a few times, is enough to sort out the skins, the transitions and the layering before any of it is tested in real terrain. We read the resort’s uphill policy first, stay to the edge of the piste and climb single file. When the mechanics are boring and the uphill is a pleasure, it is time for a course and a first tour outside the ropes.